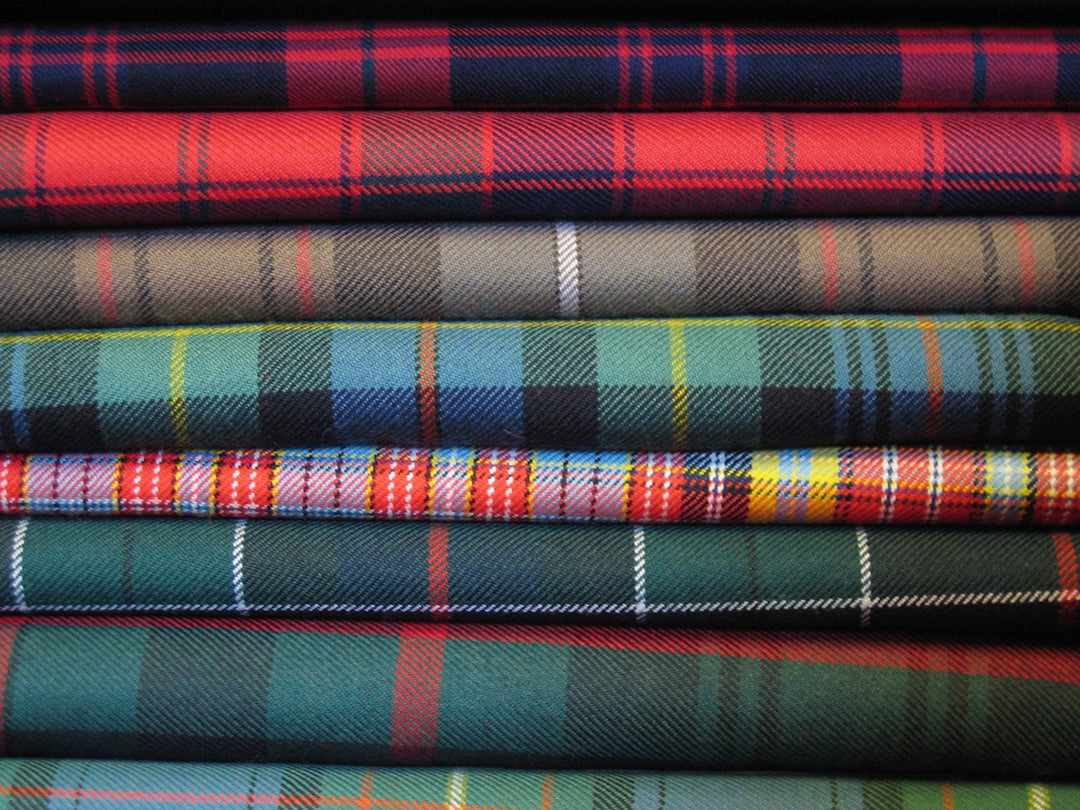
More tips for doing your own sewing repairs from home
Tips for doing your own sewing repairs from home
You may have just hopped over from a hobby forum advising on the high costs of sewing, which can quickly rack up as you add tools to your arsenal.
Sure, sewing can be an expensive hobby and, sure, it can start to look like an expensive alternative to buying mass-produced clothing, however, there are ways to maximize your productivity and recoup your investment.
Producing your own clothing or home decor is an efficient way to do this, but there are other ways that you can save cash!
Sewing Services
Did you know that the average cost of simply moving a button is about $2, while the average cost of restitching a fraying seam can cost anywhere between $5 - $10!
By doing your own clothing repairs, you can save hundreds of dollars a year.
Begin doing your own alterations and you’ll recoup the entire cost of your investment in no time at all (especially when you consider that most alterations cost you $20 for something simple and skyrocket to $100 for high-end clothing alterations!)
Where do you start?

Even if you’ve never sewed in your life, repairs are easily learned.
There are endless resources online which provide step-by-step guides to doing your own sewing repairs, though practice does indeed make perfect, so allow yourself some trial and error!
Repairs you can start doing today:
- Replace missing buttons or fix loose buttons,
- Repair a faulty zipper,
- Repair torn seams,
- Repair/ sew a Hem,
- Darn a sock,
- Patch a hole, or,
- Replace a drawstring.
The kinds of stitches you’ll be using
- A running stitch. This is the foundation of all sewing. A straight stitch (or running stitch) is accomplished by passing the needle through your material at equal lengths, directions, and intervals.
- A backstitch. A stitch made by inserting the needle at the midpoint of a preceding stitch so that the stitches overlap by half lengths on the back of the fabric and appear continuous on the front.” - Your Dictionary
- A whip stitch. Created by stitching in circular motions around the edge of the material you are working with to prevent your material from unraveling.
- A slip stitch. Also known as an invisible ladder stitch, this method is used to close the folded edge of an article, such as a hem or seam.
The tools you’ll need

You’ll need a few tools on your belt to get started. They are:
- A sewing machine. I’m a huge fan of the brand Singer, particularly the Singer Simple 3232, which is great for beginners, though it is worth having a look to see which is the best singer sewing machine available in your budget.
- Seam rippers.
- Rotary cutter.
- Fabric scissors.
- A tape measure.
- Needles, thread, pins, and a pincushion.
Getting a hang of the basics
It’s great to know which repairs you can start doing, but how do you go about doing any of it? Easy-peasy! Let’s discuss how to get started with a few of these straightforward repairs:
Repairing a button

- First, choose a button and thread that match the garment you’ll be working on. Next, thread the needle.
- You’ll want the needle to be in the middle of your thread so that you have equal amounts of thread on each side of the needle.
- Tie each end of the thread to ensure that you do not pull the thread off the needle. Once you’ve prepped your thread and needle, place your button. Be sure to align the button with the buttonhole.
- Run the needle through the first hole, then place a straight pin between your first and second stitch, to ensure your button isn’t sewn on too tight. Continue running the needle through each hole until the button is securely fastened to the fabric.
- Remove the straight pin and wrap the thread around the button half a dozen times. Create a few stitches under the button to secure the thread, then tie them off. Cut the thread and you're done!
Repairing torn seams

- Identify where the seam is ripped and the extent of the rip. Start by removing any loose stitches from the garment.
- Next, use pins to hold the separated fabric together. Thread your needle and knot the end - be sure to cut off any excess after you’ve made the knot.
- Use a backstitch to close the seam, ensuring that you do not leave too far a space between stitches. You can use the width of your thumb to determine where you should start stitching from (you don’t want to start stitching at the point of the tear.
- Once you’ve stitched the torn seam (finish one thumb width away from the end of the tear), knot the thread and cut off the excess.
“[A backstitch is] a stitch made by inserting the needle at the midpoint of a preceding stitch so that the stitches overlap by half lengths on the back of the fabric and appear continuous on the front.” - Your Dictionary
How to repair kilts
While most sewing repairs are fairly standard across a variety of garments, kilts can be a little tricky. I wanted to mention a few tips for repairing kilts at home since this is something I get quite a few queries about.
Altering kilt sizes
Altering a kilt is simpler than one might think. Kilts are built with fluctuations in weight and size in mind.
To alter a kilt’s size, simply use your seam ripper to remove the belt buckle (on the right of the kilt) and belt loop (on the left of the kilt) and move them whichever direction is required: Inward to make it tighter, outward to make it looser.
It’s best to measure the waist before re-attaching the belt to avoid incorrect placement.
Fixing a hole in a kilt

There are dozens of recommended ways to repair holes in a kilt, though my preferred method comes from a forum contributor:
“A method used by the UK Navy is to take a piece of plastic bag, place it over the inside of the hole, then add a bit of cloth - and press with an iron. The plastic melts and glues the cloth over the hole. It does require practice to get the right amount of plastic, patch, and heat.”
This method is widely recognized as the best way to achieve a repair.
If you have any questions for me, please get in touch in the comments section! I would love to hear your thoughts on how novice tailors can begin their own sewing repairs at home. Until the next time, happy sewing!


Leave a comment